Homemade Peanut Butter Cups with Crunchy Quinoa
Highlighted under: Everyday Baking Recipes
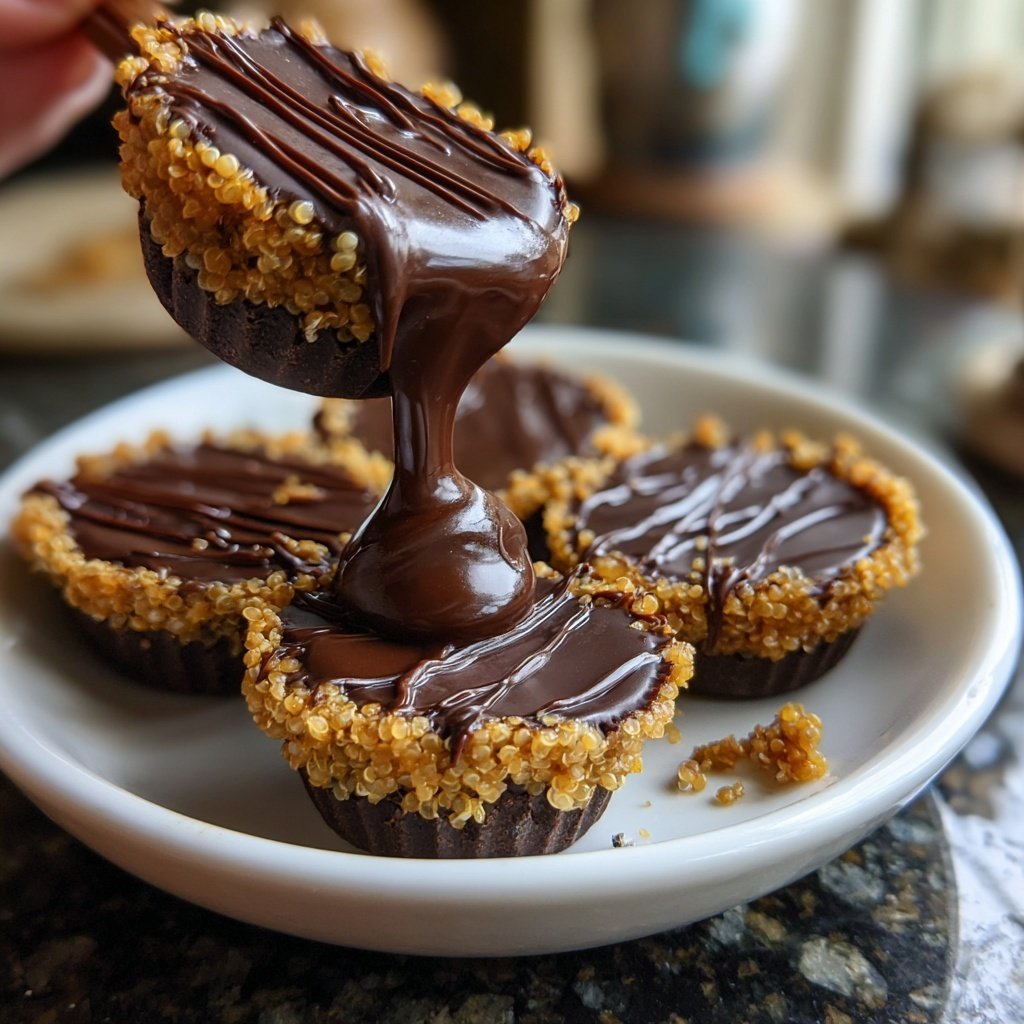
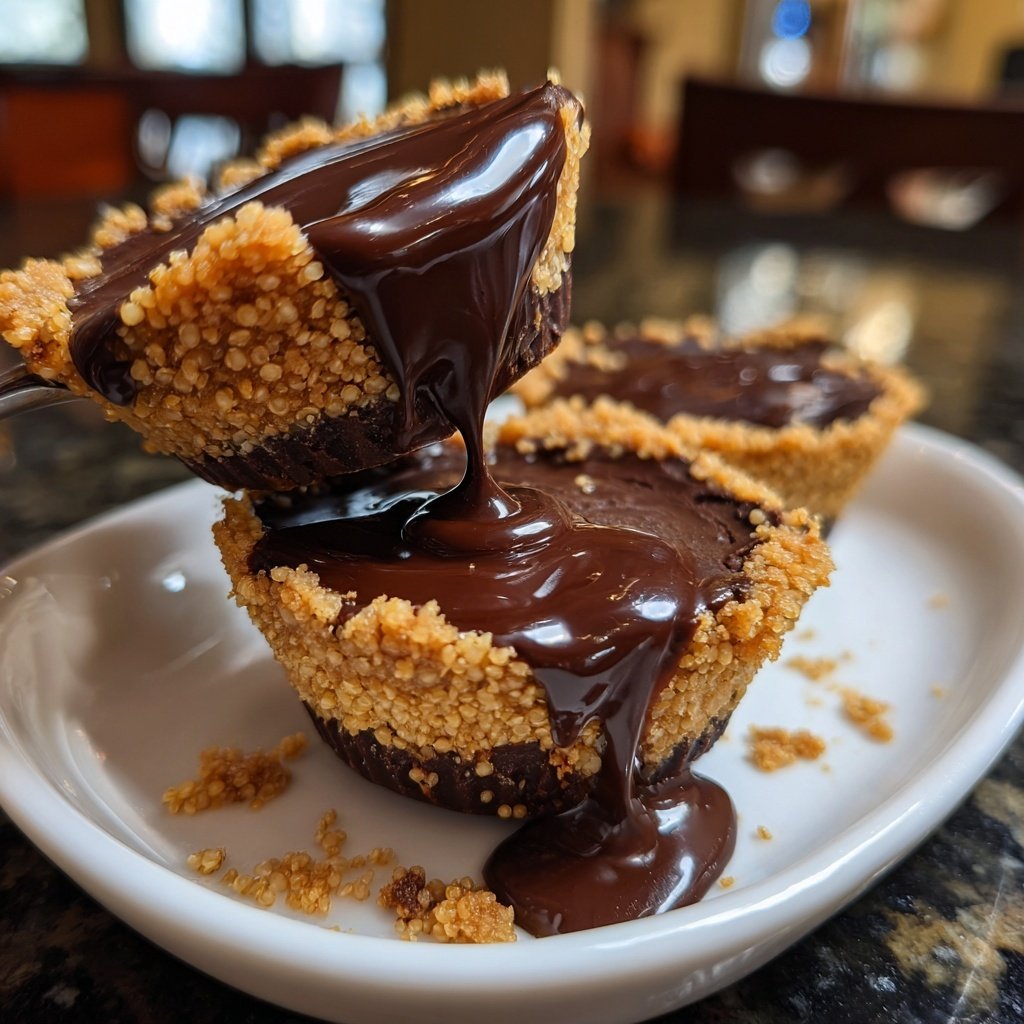
When it comes to treats, nothing beats the classic peanut butter cup for me. I decided to elevate this nostalgic favorite by adding crunchy quinoa, which not only enhances the texture but also brings a delightful nutty flavor. Making these at home means I have complete control over the ingredients and can adjust the sweetness to my liking. Plus, who can resist the idea of personalizing their own chocolatey indulgence? Let me take you through my simple yet satisfying method of crafting these delicious little cups!
My first attempt at homemade peanut butter cups was a game changer. I didn't just want to recreate the store-bought version; I aimed for something special. The addition of crunchy quinoa not only brings a satisfying crunch but also a protein boost that makes these treats feel slightly more nutritious. I remember my surprise at how effortless the process turned out to be; melting chocolate and mixing the creamy filling is as satisfying as it is simple.
I experimented with different ratios of chocolate to peanut butter, and discovered that a small pinch of salt in the peanut butter filling truly elevates the flavors. If you like that sweet-salty combo, definitely don’t skip it! It turns out that making these cups at home was not just delicious but also an enjoyable and fulfilling experience that I can't wait to share with my friends and family.
Why You'll Love These Homemade Peanut Butter Cups
- Rich peanut butter filling enveloped in creamy chocolate
- Crunchy quinoa adds a delightful texture
- Homemade means you can tailor the sweetness to your taste
Ingredient Insights
The choice of chocolate in this recipe is crucial for achieving the perfect balance of flavor and texture. I recommend using high-quality dark chocolate chips with a cocoa content of at least 60%. This ensures a rich taste that complements the sweetness of the peanut butter filling. The addition of coconut oil not only helps the chocolate melt smoothly but also creates a glossy finish that elevates the presentation of your peanut butter cups.
For the peanut butter filling, I prefer creamy peanut butter for its smooth consistency, but feel free to use natural peanut butter for a healthier option. Just be aware that natural varieties may contain oil separation, so stir well before measuring. The crunchy quinoa not only adds a pleasant crunch but also introduces extra protein, making these treats a bit more satisfying. You can also swap quinoa for crushed nuts if you prefer a more traditional texture.
Techniques for Success
When melting the chocolate, be careful not to overheat it, as this can cause it to seize. Microwave it in short bursts, stirring between each interval until it reaches a smooth, pourable state. If you notice any lumps, continue stirring off the heat, as residual heat can help melt them. The goal is a glossy chocolate that you can pour easily into your molds without clumping.
The key to getting your peanut butter cups to set nicely is to ensure the chocolate base is adequately hardened before adding the filling. Check after the initial 10 minutes in the freezer; it should be firm enough to hold the filling without melting through. If you want to give them an extra crunch, reserve some quinoa to sprinkle on top of the chocolate layer before freezing. This not only adds visual appeal but also enhances textural contrast.
Ingredients
Ingredients
For the Chocolate Coating
- 1 cup dark chocolate chips
- 1 tablespoon coconut oil
For the Peanut Butter Filling
- 1 cup creamy peanut butter
- 1/2 cup crunchy quinoa
- 2 tablespoons honey or maple syrup
- A pinch of salt
Instructions
Instructions
Melt the Chocolate
In a microwave-safe bowl, combine the dark chocolate chips and coconut oil. Microwave in 30-second intervals, stirring in between, until smooth and melted.
Prepare the Molds
Line a muffin tray with cupcake liners. Spoon a small amount of melted chocolate into each liner, covering the bottom completely. Place the tray in the freezer for about 10 minutes or until set.
Make the Peanut Butter Filling
In a mixing bowl, combine the creamy peanut butter, crunchy quinoa, honey or maple syrup, and a pinch of salt. Mix until well combined.
Add the Filling
Once the chocolate base has hardened, remove the tray from the freezer. Spoon a generous amount of the peanut butter mixture into each chocolate-lined cup.
Top with More Chocolate
Pour the remaining melted chocolate over the peanut butter filling, ensuring it is fully covered. Tap the tray gently on the counter to remove any air bubbles.
Freeze and Serve
Return the tray to the freezer for at least 30 minutes until fully set. Once set, remove the cups from the liners and enjoy!
Pro Tips
- Feel free to experiment by adding ingredients like chopped nuts or dried fruit into the peanut butter filling. You can also use milk chocolate for a sweeter flavor if you prefer.
Storage and Make-Ahead Tips
These homemade peanut butter cups can be stored in an airtight container in the refrigerator for up to a week. If you want to keep them fresh for longer, consider freezing them. Place the cups in a single layer in a freezer-safe container, separating layers with parchment paper. They can be frozen for up to three months, making them an excellent make-ahead treat for special occasions or a quick snack.
To thaw, simply leave the cups in the fridge for a few hours or at room temperature for about 30 minutes. I recommend enjoying them slightly chilled for the best texture, as the chocolate coating will have a perfect snap while the filling remains creamy. This way, you can savor the delightful contrast in textures.
Variations to Try
For a twist on the classic, you can experiment with flavored nut butters. Almond butter or sunflower seed butter provides a unique taste profile that pairs wonderfully with chocolate. If you're looking to add some spice, consider incorporating a dash of cinnamon or a pinch of cayenne pepper into the filling for a surprising kick that complements the nuttiness of the peanut butter.
If you're feeling adventurous, try mixing in different add-ins with the quinoa, such as shredded coconut or mini chocolate chips. This adds not only additional flavor but also visual interest. The versatility of this recipe allows you to get creative, ensuring that every batch can be a little different and just as tempting as the last.
Questions About Recipes
→ Can I use natural peanut butter?
Yes, natural peanut butter works well, but make sure it's well stirred to avoid separation.
→ How long do these cups last?
They can be stored in an airtight container in the fridge for up to a week.
→ Can I make these vegan?
Absolutely! Use dairy-free chocolate chips and maple syrup for a vegan-friendly option.
→ What can I substitute for quinoa?
You can use chopped nuts or seeds if you prefer, but keep in mind the texture will change.
Homemade Peanut Butter Cups with Crunchy Quinoa
Created by: Abigail Moore
Recipe Type: Everyday Baking Recipes
Skill Level: Beginner
Final Quantity: 12 servings
What You'll Need
For the Chocolate Coating
- 1 cup dark chocolate chips
- 1 tablespoon coconut oil
For the Peanut Butter Filling
- 1 cup creamy peanut butter
- 1/2 cup crunchy quinoa
- 2 tablespoons honey or maple syrup
- A pinch of salt
How-To Steps
In a microwave-safe bowl, combine the dark chocolate chips and coconut oil. Microwave in 30-second intervals, stirring in between, until smooth and melted.
Line a muffin tray with cupcake liners. Spoon a small amount of melted chocolate into each liner, covering the bottom completely. Place the tray in the freezer for about 10 minutes or until set.
In a mixing bowl, combine the creamy peanut butter, crunchy quinoa, honey or maple syrup, and a pinch of salt. Mix until well combined.
Once the chocolate base has hardened, remove the tray from the freezer. Spoon a generous amount of the peanut butter mixture into each chocolate-lined cup.
Pour the remaining melted chocolate over the peanut butter filling, ensuring it is fully covered. Tap the tray gently on the counter to remove any air bubbles.
Return the tray to the freezer for at least 30 minutes until fully set. Once set, remove the cups from the liners and enjoy!
Extra Tips
- Feel free to experiment by adding ingredients like chopped nuts or dried fruit into the peanut butter filling. You can also use milk chocolate for a sweeter flavor if you prefer.
Nutritional Breakdown (Per Serving)
- Calories: 200 kcal
- Total Fat: 15g
- Saturated Fat: 6g
- Cholesterol: 0mg
- Sodium: 100mg
- Total Carbohydrates: 16g
- Dietary Fiber: 2g
- Sugars: 10g
- Protein: 5g